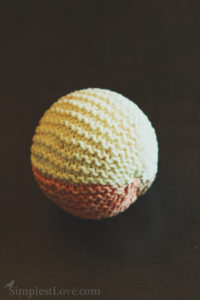
This knit ball is as easy to make as it is fun to play with.
A very simple ball made from a knit rectangle. It’s the perfect first project for a new knitter.
You could also make a similar ball by crocheting a rectangle and following the sewing instructions.

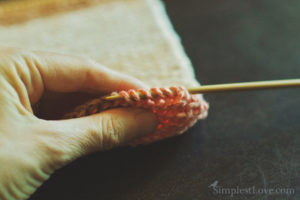
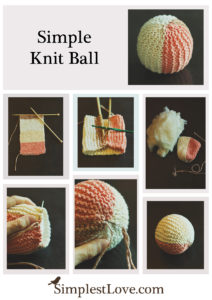
1) Start by knitting a rectangle that is long enough to form a square when folded in half. Leave the last row of stitches on your needle.
For this pattern I made here I cast on 20 stitches and knit 30 rows. Leave the stitches on the needle and cut a long tail. At least 10 or more inches.
The yarn I used is plane cotton, easy to find at any craft store. I like this yarn because it is natural and very affordable. Knitting this yarn is much easier with metal needles because it tends to stick to the wooden ones. 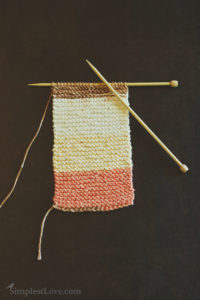

*The next 3 steps are my personal favorite way of closing a knit seam, if you would prefer to cast off the last row and simply sew up the ball with a large needle and a long length of yarn, you may certainly do that and skip steps 2, 3 and 4.
If you would like to try my favorite way of closing a knit seam continue here with step 2:
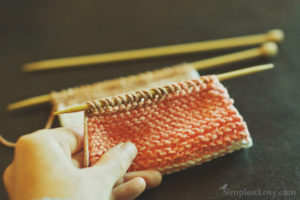
2) Transfer all the stitches from the final row onto a new needle so that the needle is facing the opposite direction and the yarn tail is now at the end of the stitches. This allows you to use the tail to close the first end of your ball. If you want to skip this step and just tie on a new piece of yarn that will work very well too. If you choose to skip this step just move on to step 3.
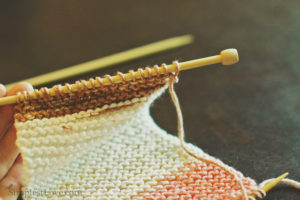
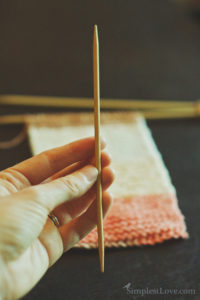
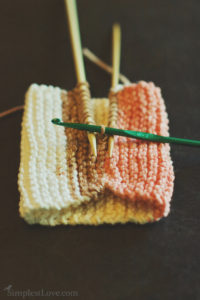
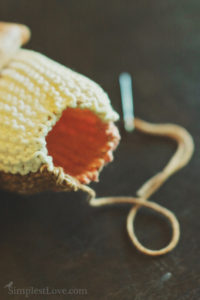
3) Next use your spare needle or a slightly smaller gauge needle (here I have chosen to use a double pointed needle one size smaller) to pick up 20 stitches from the bottom row of knitting.These stitches you are picking up are the original ones you cast on at the beginning. (*You may need to adjust this number to match the actual number of stitches you originally cast on if you used more or less than 20). Be sure to pick up the stitches so that the points of both your needles end by facing the same direction. Obviously you don’t have to worry about this if you have double pointed needles.
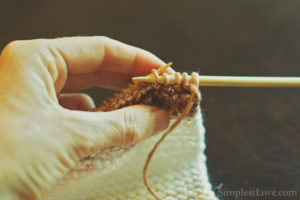
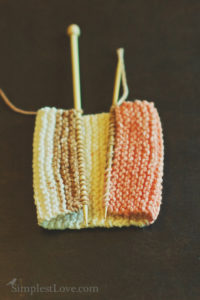
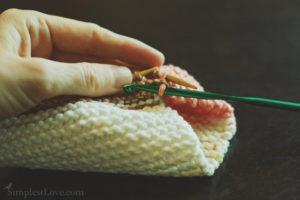
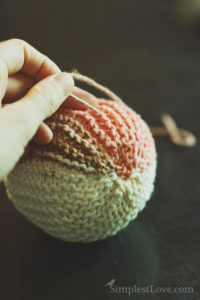
4) Now that you have matching stitches, lay the piece flat as I have done in the next photo and loop the stitches over each other in a zipper like fashion using a crochet hook. You could use your fingers and/or a third knitting needle if you don’t have a crochet hook. Try to plan so that the last stitch ends on the side with the cast off tail, but if it doesn’t that will be fine. This is a very forgiving project. If you cast on an even number of stitches, pick up your first stitch from the side with the tail.
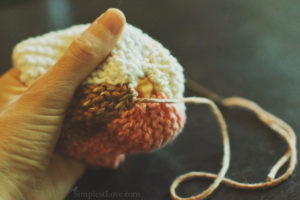
Using the crochet hook, go all the way through the first stitch. Next pick up a second stitch from the other needle.
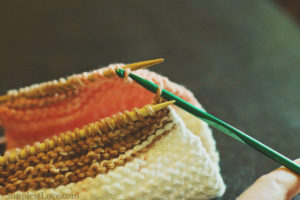
Pull this new second stitch though the first one. There should now only be the second stitch (the second one) on your crochet hook.
Pick up another stitch form the first needle and pull this stitch through the second stitch. Now only the third stitch is left one the crochet hook.
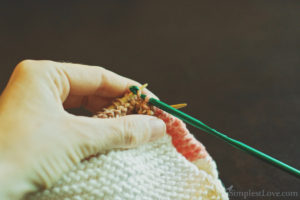
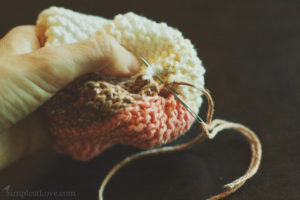
Continue this way in a zipper fashion moving from one needle to the next until the seam is complete.
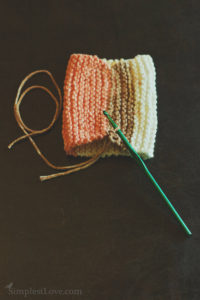
Using the long tail from your knitting (or a new piece if your tail is on the other side or you cast off), and pull the end through the last loop stitch on your crochet hook. Thread this tail yarn with a large sewing needle.
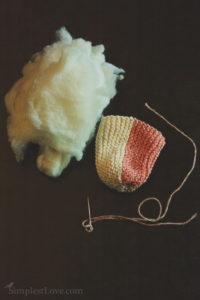
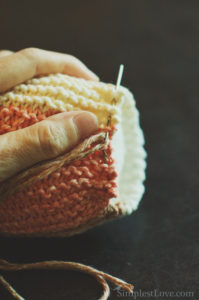
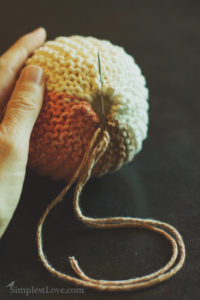
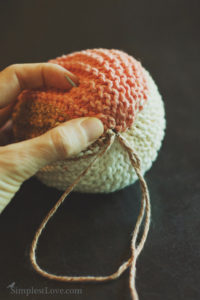
5) Now sew a running stitch through the stitches on the end of your ball. Simply run the needle over and under the stitches all the way around the tub. Once you get back to where your sewing began, pull tight (be careful not to pull so tight that you break the yarn).

6) Once the end is pulled as tight as the yarn will let you, stitch up the opening in a criss cross fashion and tie a knot inside the ball.
Cut the end of the yarn, be sure to leave the knot and the yarn tail inside the ball.
7) Stuff the ball and use remaining yarn on needle or thread more if you have less than 10 inches.
8) Sew up the last seem just as you did in step 5
9) To be sure that your knot and tail are hidden, tie a knot very close to the knitting and then run the needle through the inside of ball a little. Pull this stitch through tight so the knot pulls through too. Now cut the end close to the knitting so that the tail disappears into the ball.
10) Congratulation. You are done and have a lovely new toy to show for it. Thank you for reading this tutorial. If you have any trouble or feedback please leave a comment and I will get back to you soon.
Enjoy!
For other toys from simple knit squares follow these links: